
When it comes to custom cabinetry, built-in shelving, or bespoke furniture making, medium density fiberboard stands out as an incredibly versatile material. Its uniform density makes it a joy to machine, but getting professional results requires knowing exactly how to handle it.
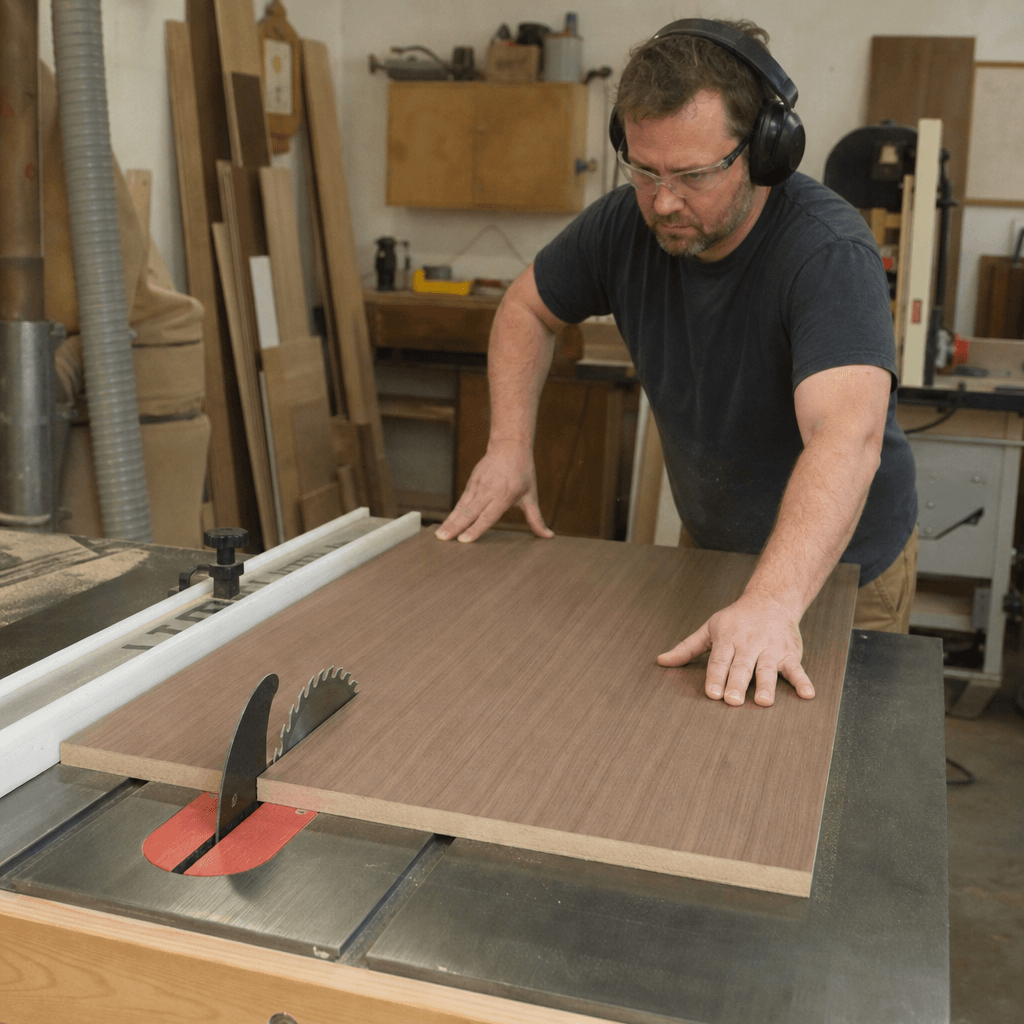
If you are looking for the absolute best tips for working with MDF board for DIY projects (including 16mm MelaWhite Warm White Semi-Gloss MDF and European Oak Mismatched Brushed 1F/1B MDF), you are in the right place. From selecting the perfect sheet to achieving a flawless finish, mastering this engineered wood can elevate your craftsmanship.
Below, we will explore practical techniques for handling, cutting, and assembling your next mdf board masterpiece.
Understanding Your MDF Options
When weighing melamine vs veneered MDF for DIY cabinets and furniture, understanding your material’s unique characteristics is critical. Modern manufacturing gives DIYers access to premium finishes that combine structural integrity with stunning visual appeal.
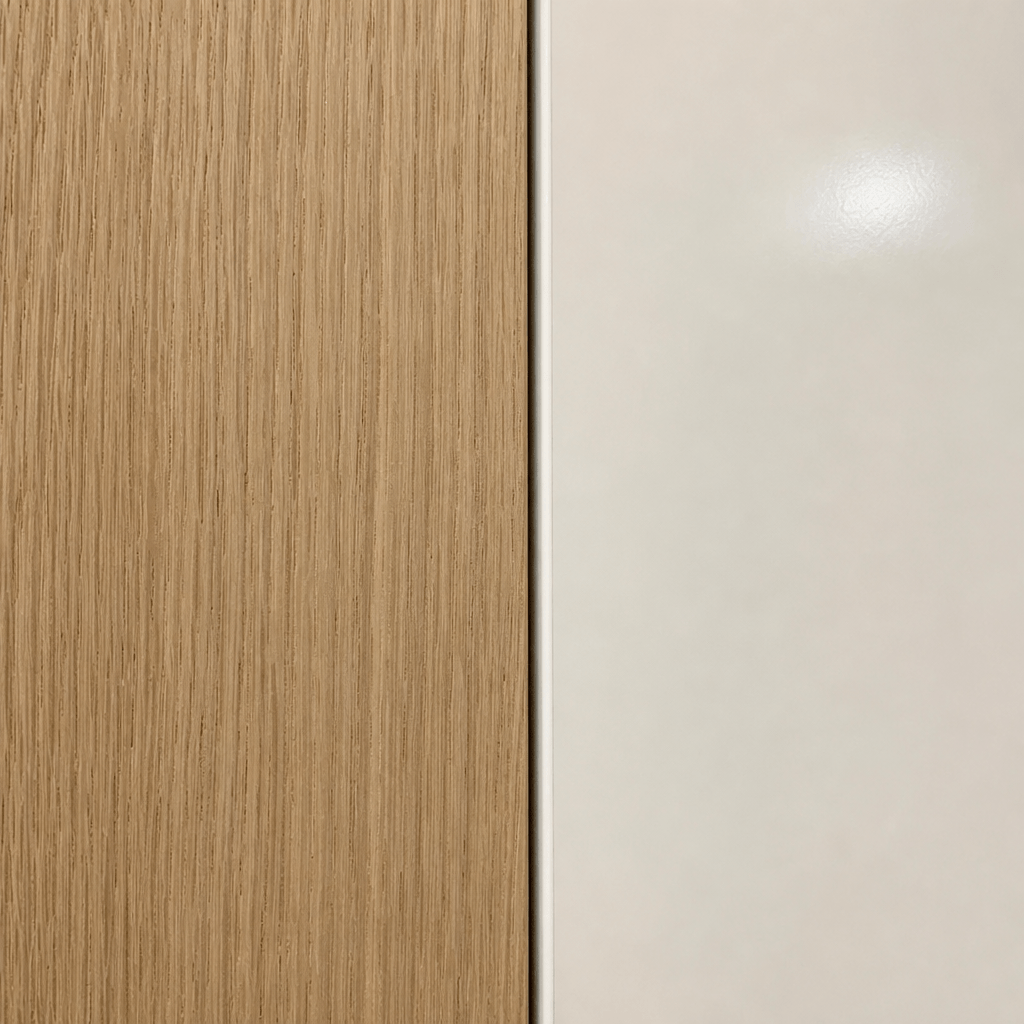
European Oak Mismatched Brushed 1F/1B MDF
For projects demanding high-end organic textures, a high-quality MDF panel finished with a mismatched European Oak veneer is a spectacular choice. The beautifully brushed surface of this material heavily enhances the natural grain texture, making it tactile and visually striking.
Designed for both functional strength and aesthetic appeal, this specific board is highly suitable for interior cabinetry, wall cladding, furniture manufacturing, and bespoke design projects. The term “1F/1B construction” refers to its engineered balance: it features a primary decorative oak face (1F) backed by a balancing veneer on the reverse (1B). This crucial balancing layer acts to provide stability and drastically reduce warping over time.
Additionally, the full sheet size of this premium MDF panel is exactly 2440×1220 mm. This expansive dimension is highly beneficial, emphasizing excellent material yield and versatility for large-scale projects like wardrobe doors or long media consoles.
16mm MelaWhite Warm White Semi-Gloss MDF
As an excellent alternative option within the wide range of MDF uses, the 16mm MelaWhite Warm White Semi-Gloss MDF provides a clean, contemporary finish right off the shelf. Often utilized for interior carcasses, modern kitchen faces, or sleek shelving, this pre-finished board eliminates the need for manual painting while offering a tough, easy-to-clean surface.
Essential Safety and Handling
Before making your first cut, it is vital to respect the physical properties of the material.
First, consider the logistics of moving the material. MDF board weight heavily depends on three main factors: overall thickness, core density, and sheet size. A standard 2440×1220 mm 16mm mdf board is quite heavy and can easily weigh upwards of 35 kilograms. Always ask for a lifting partner or use a panel carrier to avoid back strain and prevent damaging the vulnerable corners of the board.
Second, safety cannot be overstated. Medium density fiberboard is manufactured using wood fibers bound with resins, which produce highly hazardous, fine dust when cut or routed. Strict adherence to MDF dust extraction and respirator requirements is mandatory. Always connect your power tools to a high-efficiency shop vacuum equipped with a HEPA filter, and wear a well-fitted P2 or N95 respirator mask to protect your lungs.
Precision Cutting Techniques
Cutting manufactured panels cleanly requires specific strategies, especially when dealing with delicate veneers or brittle melamine coatings.
Achieving Chip-Free Melamine Cuts
Figuring out how to cut 16mm MelaWhite without chipping the melamine is a common DIY hurdle. The melamine layer is notoriously fragile. To achieve a pristine edge:
- Tape the Cut Line: Apply high-quality painter’s tape tightly along your cut line before sawing.
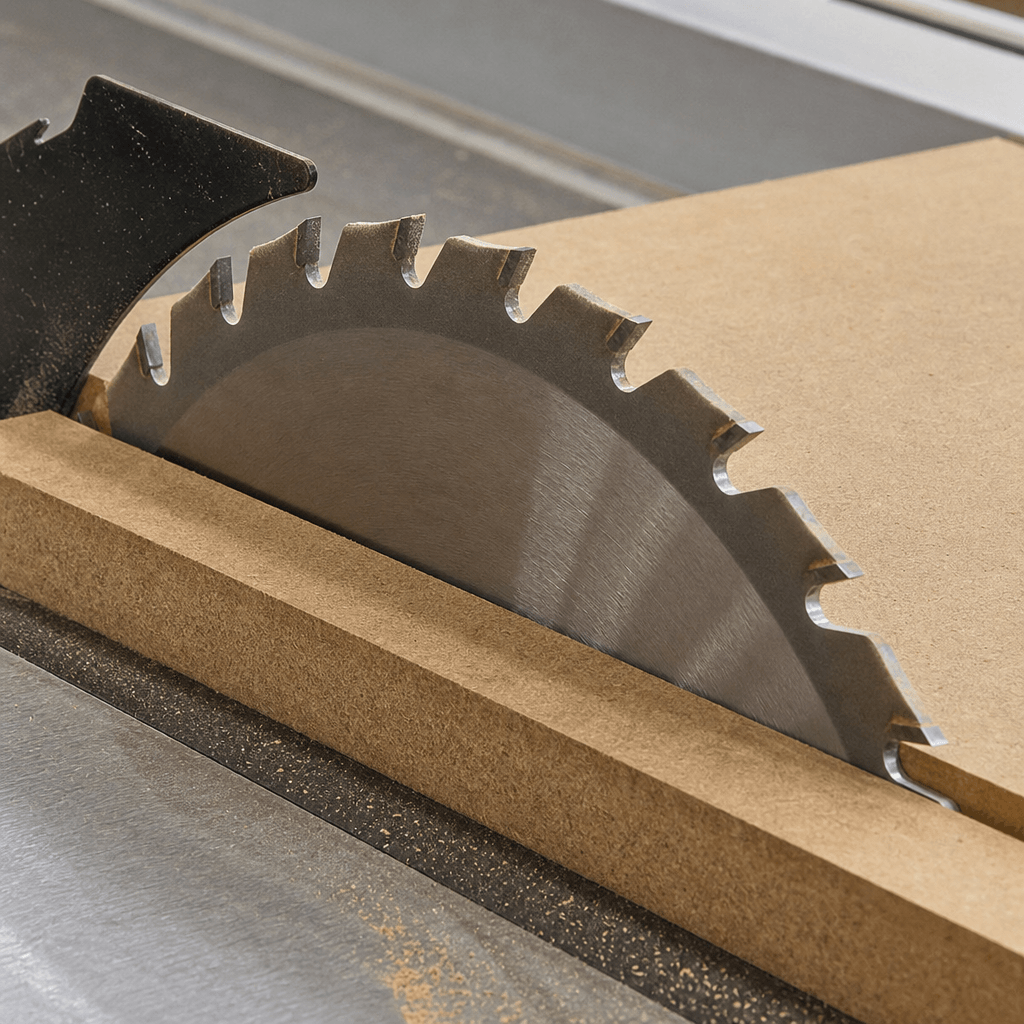
- Use a Zero-Clearance Insert: If using a table saw, a zero-clearance insert prevents the delicate edges from blowing out downward.
- Score the Surface: Set your circular saw blade to a shallow 2mm depth for a first scoring pass, then make a second full-depth pass.
Protecting Wood Veneers
When cutting your premium oak boards, you must utilize the best saw blades for clean cuts on veneered MDF. Opt for a high-tooth-count blade (minimum 60 to 80 teeth for a standard 10-inch saw). A Triple Chip Grind (TCG) or an Alternate Top Bevel (ATB) blade profile works exceptionally well to slice cleanly through the wood fibers without splintering the brushed veneer face.
Fasteners and Joinery
Unlike solid wood, the edges of MDF are prone to splitting if forced apart by thick screws. Proper joinery preparation is essential.
Drilling and Screwing
When inserting screws, using the best drill bits for pre-drilling MDF boards is non-negotiable. Brad-point bits are highly recommended because they carve a precise, clean hole without wandering. Always use a countersink bit so the screw head sits flush without mushrooming the surface fibers.
If you are joining 16mm MDF with pocket hole screws, choose coarse-thread pocket screws designed specifically for composite woods. Fine-thread screws will easily strip out the fibrous core. Adjust your drill’s clutch to a lower setting to prevent over-tightening.
Gluing and Adhesives
Traditional wood glue works wonders on raw MDF joints, but pre-finished boards require different tactics. When investigating glue types for bonding melamine surfaces, standard PVA wood glue will fail because it cannot penetrate the non-porous melamine plastic. Instead, use a specialized melamine glue (like Roo Glue) or a high-quality polyurethane construction adhesive for a permanent, secure bond.
Edge Finishing and Moisture Control
Because MDF is fundamentally composed of compressed fibers, its raw edges act like a sponge, absorbing liquids and looking rough if left untreated.
Creating Smooth Painted Edges
If you plan to paint custom panels, sealing raw MDF edges for a smooth finish is critical. You can seal the porous edges by applying a mixture of PVA glue and water (sizing), brushing on a thinned layer of drywall joint compound, or using a commercial MDF edge sealer. Once dry, lightly sand the edge with 220-grit sandpaper until it feels as smooth as glass.
Edge Banding Pre-Finished Boards
For projects utilizing pre-finished boards, applying edge banding for MelaWhite warm white semi-gloss is the most professional route. Iron-on melamine or PVC edge banding can be applied directly to the raw edges using an ordinary household iron. Press the banding firmly with a small wooden block as it cools, then trim the excess flush with a specialized edge-banding trimmer or a sharp chisel.
Moisture Prevention
While standard MDF is perfect for dry areas, preventing moisture damage in medium density fiberboard requires foresight. Never leave raw edges exposed to the floor in utility rooms or kitchens. Always prime and seal the undersides of cabinet kicks. If you are building for a high-humidity environment like a bathroom, consider upgrading to Moisture Resistant (MR) MDF for the structural core, though even ‘waterproof’ MDF variants still require thorough surface and edge sealing for absolute protection.
Sanding, Painting, and Aesthetics
The final finishing stages are where your DIY project truly comes to life. Whether you are highlighting natural wood or going for a sleek, solid color, careful preparation yields professional results.
Working with European Oak Veneer
When utilizing the premium 1F/1B oak panels, embrace the unique visual characteristics. Working with mismatched oak veneer grain patterns means you get an incredibly natural, planked look that doesn’t look artificially repeated or artificially cloned.
Be cautious regarding sanding techniques for veneered 1F/1B boards. Because the balancing veneer and the face veneer are very thin, aggressive sanding will quickly burn right through to the MDF core. Use nothing heavier than 180 or 220-grit paper, and sand exclusively by hand following the direction of the grain.
For finishing brushed European oak veneer panels, a hard wax oil (like Osmo) or a matte clear-coat polyurethane works beautifully. These finishes seep into the wood, protecting the panel while preserving the distinct, tactile brushed texture that makes the board so special.
Modifying MelaWhite Panels
Occasionally, project plans change, prompting the question: can you paint over semi-gloss MelaWhite? The answer is yes, provided you prep the surface correctly. The semi-gloss coating is slick, so you must lightly scuff-sand the entire surface with 120-grit sandpaper to create a mechanical key. Follow this by applying a high-adhesion bonding primer or a shellac-based primer before rolling on your topcoats.
Finally, knowing how to hide seams in white semi-gloss MDF projects can make built-in cabinetry look seamless and custom. Use a high-quality, paintable acrylic caulk for interior corners where panels meet the wall. For flat panel-to-panel butt joints, careful alignment during assembly is your best defense. If a slight gap remains, a flexible wood filler or automotive Bondo (if you plan to paint over the seam) can be sanded perfectly flush before your final finishing steps.
Conclusion
Working with engineered materials doesn’t have to be intimidating. By mastering proper cutting techniques, investing in the right fasteners, and thoroughly understanding how to seal and finish your materials, your custom builds will rival store-bought furniture. Whether you choose the warm, natural textures of brushed European Oak or the crisp, modern appeal of 16mm MelaWhite, applying these foundational techniques will ensure your DIY project is a resounding success.